PDXKBC Macropad
Overview
Links
Cases
3d printable cases designed by our awesome members!
Parts List
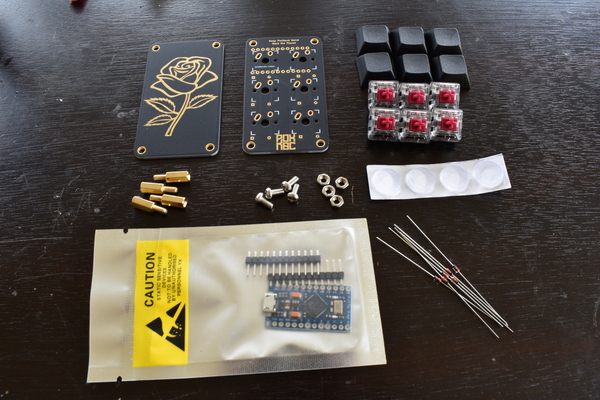
- Badge and Case PCBs (See Links section for source files)
- Standoffs:
- 4× M3 × 10 + 6mm brass Male-Female Spacers
- 4× M3 × 6mm screws
- 4× M3 nuts
- OR
- 4× M3 × 10mm threaded female standoffs
- 8× M3 × 6mm screws
- 1× 5v Arduino Pro Micro
- 6× 1N4148 Diodes
- 4× Rubber Bumpers/Feet
- 6× PCB Mount Switches
- 6× 1u Keycaps
Build Guide
Tools
You'll need:
- A soldering iron and solder
- A phillips screwdriver
- Flush cutters
Assembly
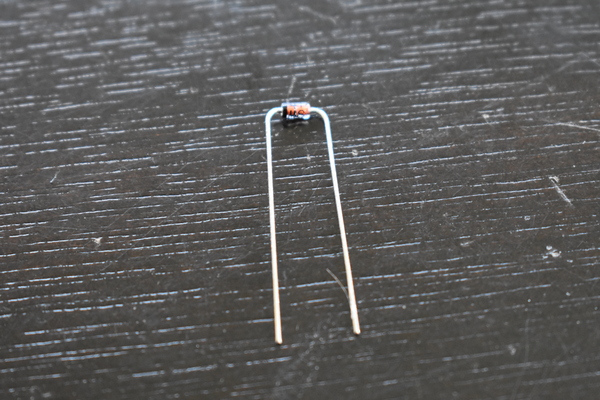
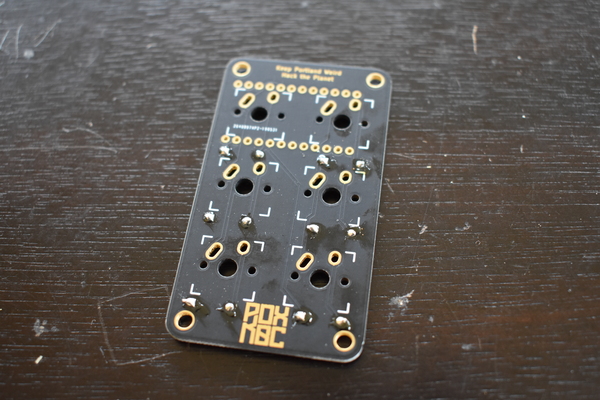
Diodes
Bend your diodes as shown:
Place your diodes with the black stripe on the diode facing the white stripe on the PCB, slightly bend the legs to prevent the diode from falling out.
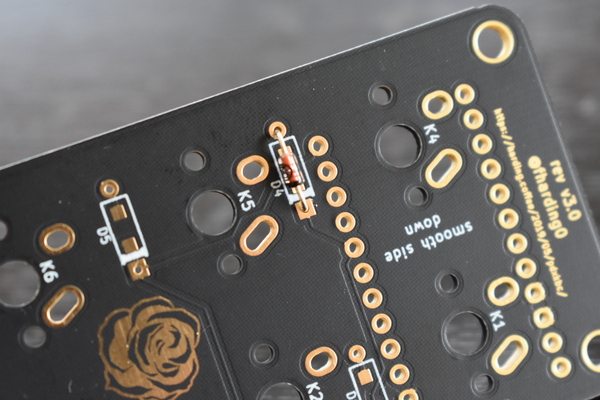
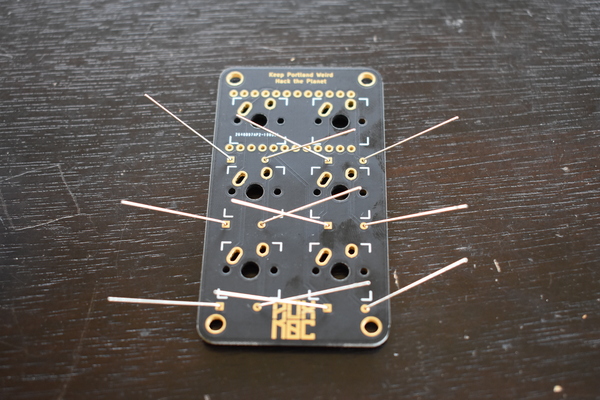
Solder the diodes, and trim the legs with flush cutters.
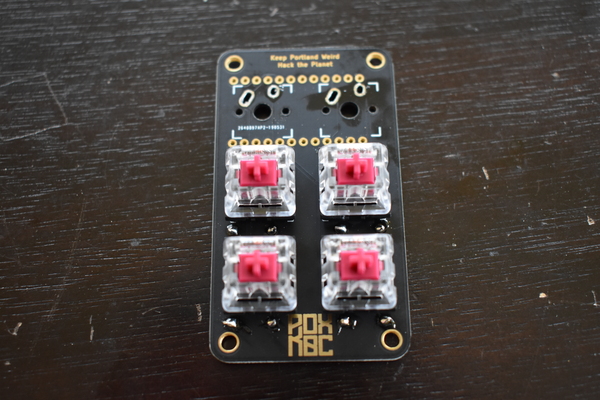
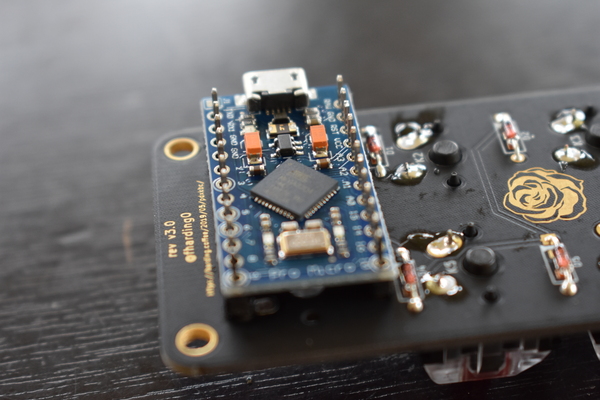
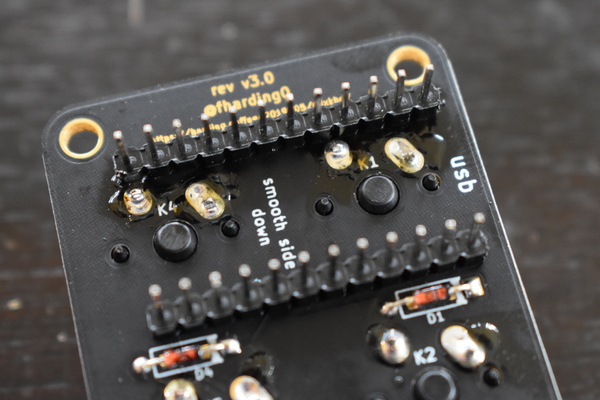
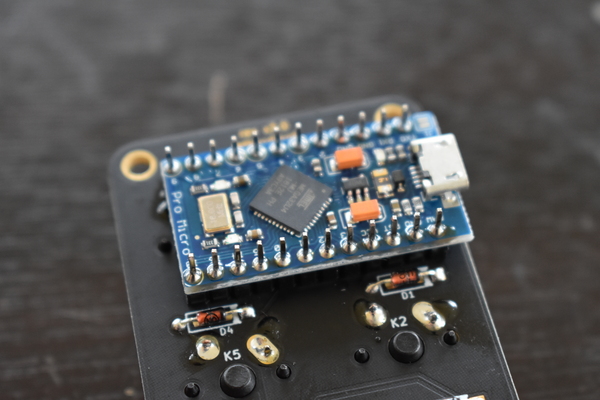
Switches & Pro Micro
Place and solder the lower four switches
Tack on the two pin headers, fiddle with them until they're straight and the pro micro fits on.
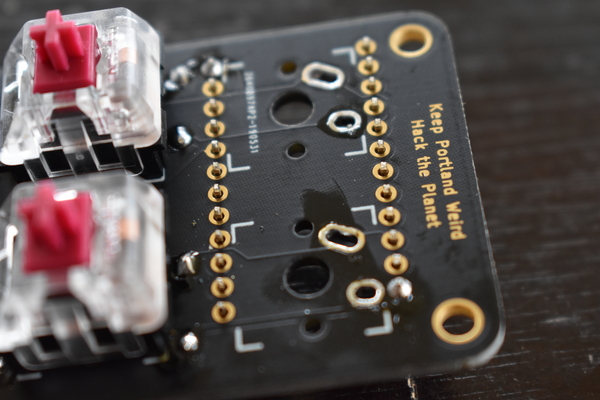
Solder the pin header.
Solder the top two switches.
Solder the Pro Micro onto the headers
Flash the Pro Micro
$ git clone git@github.com:qmk/qmk_firmware.git

$ cd qmk_firmware

$ ./util/linux_install.sh

$ sudo make pdxkbc:default:avrdude

# short the RST and GND pins on the pro micro when prompted
Also see the GitHub repo in the Links section.
Test the board
The default keymap is:
PDXKBCREDDIT |
PDXKBCDISCORD |
BADGELIFE |
HACKTHEPLANET |
KC_VOLU |
KC_VOLD |
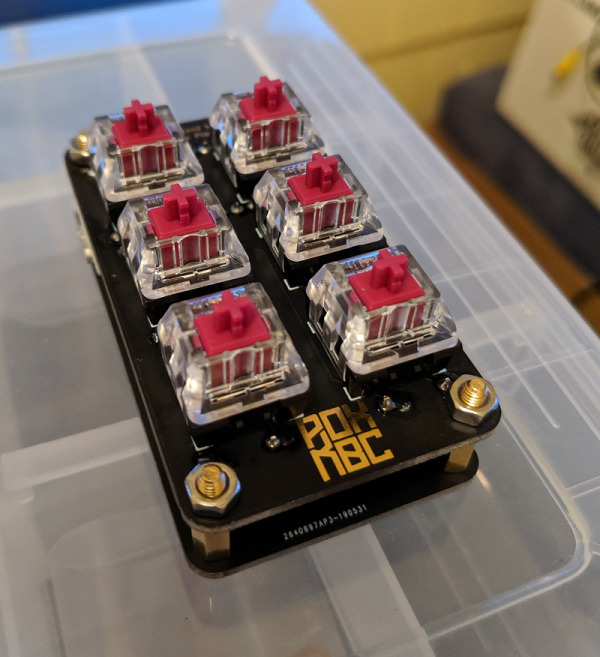
Finish Assembly
Bolt and screw on the spacers, install the bumpers. You're done!